Making a simple pendant.
Supplies
1. Read Mary Ann’s book: Introduction to Precious metal Clay or watch
Hattie’s new 4 hour long DVD. The DVD takes you through every step of
the process. It’s a bit like a one week’s course crammed into 4
hours!
2. Buy a packet of PMC+. This doesn’t dry as quickly as PMC3 but can
be torch fired.
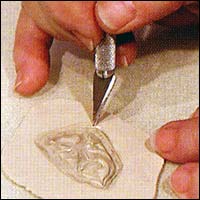
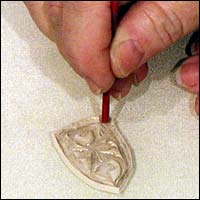
3. Tools: 1 wipe out/shaper tool, small tin of Badger Balm, small plastic rolling
pin, small craft knife, drinking straw, paint brush and cup of water to rinse
brush, empty photo film container (for making slip) and plastic coated normal
playing cards. Optional: stamp or texturising mat.
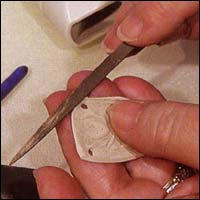
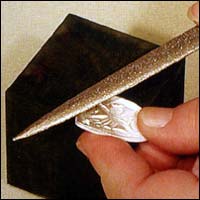
Finishing tools: rubber block and stainless steel brush (Optional: burnisher)
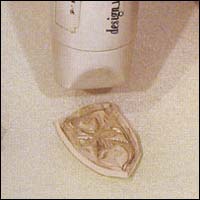
Note: What is slip?
Slip or paste can be bought ready made or you can make it by using the scraps/cut
offs of clay and placing them in a small airtight container. Simply mix with
a little water to create slip. This is used to bond two pieces of clay together.
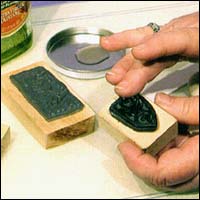
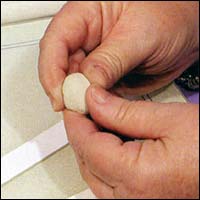
Start by rubbing a tiny amount of Badger Balm on you hands
and on one of the playing cards that you will be using as
a work surface. The advantage of using Badger Balm is that
it stops the clay sticking to you hands, your work surface
and any texturising tools. It is also non greasy as opposed
to using an olive oil/water mix. Now tear open you clay packet and take out the amount you
expect to use straight away. Wrap the remaining piece of
clay back in the wrapper and return to the foil pouch.
 |